
By: chelsea derusha
Trekking Poles: Worth the Investment?
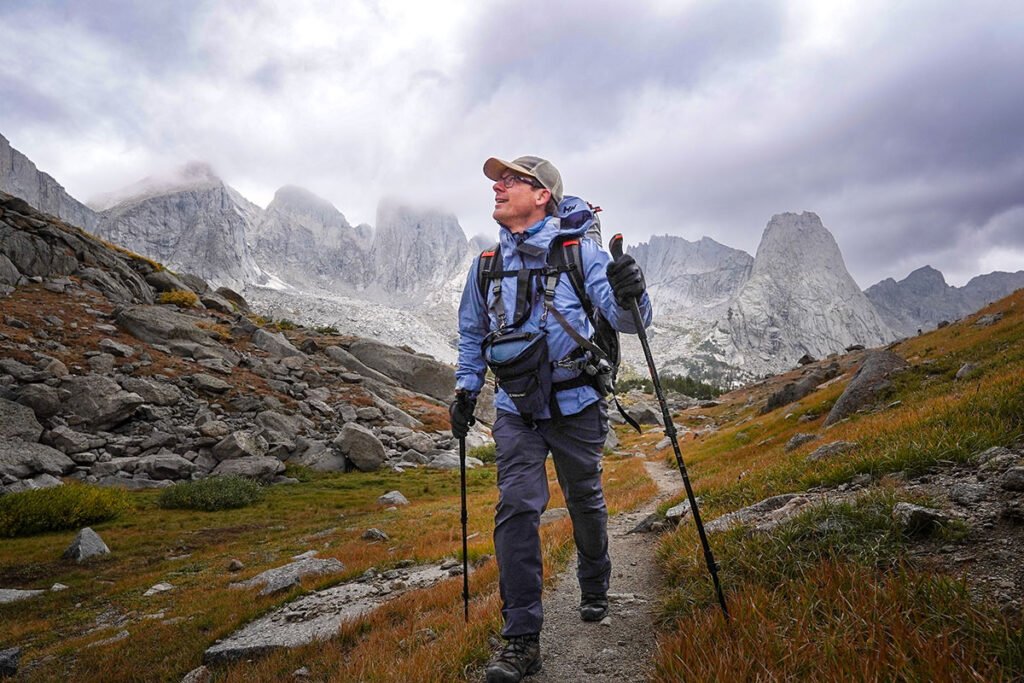
Trekking poles aren’t required gear for the Appalachian Trail, but talk to any thru-hiker and most will tell you they’re essential. They save your knees, improve your balance, and can even set up your shelter. Here’s what you need to know before investing in a pair.
Why Use Trekking Poles?
The main benefit is knee protection. Hiking poles transfer some of the impact force from your knees to your arms and shoulders, especially on descents. Over 2,000 miles of constant elevation changes, this impact reduction can be the difference between finishing and going home with knee injuries.
Poles also improve your balance on technical terrain. Rocky sections, stream crossings, and slippery mud become much easier to navigate when you have four points of contact instead of two. In the White Mountains where the trail gets genuinely dangerous in places, poles provide crucial stability.
Beyond hiking, many lightweight shelters and tarps use trekking poles instead of traditional tent poles to save weight. If you’re using a trekking pole shelter, your poles pull double duty as essential shelter components.
Types of Trekking Poles
Fixed-length poles are the lightest and most durable option. They don’t collapse or adjust, which means fewer parts to break. The downside is awkward packing when you’re not using them, like during road walks into town.
Telescoping poles adjust for different terrain and collapse for easy storage. Twist-lock mechanisms are simpler but can loosen over time. Flip-lock mechanisms are more secure but have more parts that can break. Both work fine for the AT if you buy quality poles.
Folding poles collapse to about 15 inches using a cord-and-section design similar to tent poles. They’re great for packing but typically cost more and can be less durable than other options. Some hikers love them for the packability. Others worry about the complexity.
Features That Matter
Cork or foam grips are more comfortable than rubber, especially when your hands are sweating. Cork molds to your hands over time and wicks moisture well. Foam is lighter and cheaper but doesn’t last as long.
Wrist straps should be padded and adjustable. You want to be able to transfer some weight to the straps rather than gripping the poles constantly. Carbide or steel tips work better than rubber on rocks and roots, though rubber tip covers are nice for road walks.
Adjustability isn’t essential if you find fixed-length poles that work for you, but many hikers like being able to shorten poles for steep climbs and lengthen them for descents. If you go with adjustable poles, make sure the locking mechanism is bomber. Nothing is more frustrating than poles that collapse under pressure.
Making the Investment
Quality trekking poles cost $100-$150 per pair. Budget options exist for $30-$50, but they’re more likely to break and need replacing mid-trail. If you’re committing to a thru-hike, invest in poles that will last the entire journey.
Try before you buy if possible. Many outfitters let you test poles on short walks. Pay attention to grip comfort, weight, and how they feel at different heights. Your poles will be in your hands for thousands of miles. Make sure they feel right.
Pole Setup Tips
Adjust height so elbows are 90 degrees
Shorten 2-3 inches for steep climbs
Lengthen 2-3 inches for descents
Use wrist straps properly to reduce grip fatigue
Replace tips when worn down